Ironing Your Shirts
It can be quite a chore when it comes to ironing your tailored outfits. I've heard countless of complaints from girlfriends, wives and gents themselves when it comes to ironing non easy iron shirts! Thus, we have a comprehensive guide on how to better iron your Shirts and Pants or easier still..... get an Easy Iron / Wrinkle Free shirt? ;)
- Remove collar stays (if any).
- Make sure cloth is damp all over.
- Use " Cotton " temperature settings heat (assuming if your shirt is cotton and not other type of fabrics)
- If cloth is not damp, standby a water mister spray bottle
- Lastly, a care instruction is to fill up your iron with distilled water instead of running water (it contains minerals and will build up along the way, hence leaving some salt minerals built-up on the iron)

- Hold the sleeve at the seam side and lay it flat across the iron board. Make sure every inch of the fabric is flattened.
- Smoothen the sleeves by starting from the cuffs to the armpit; removing all wrinkles from top and bottom layers.
- Continue this motion at the top of the sleeve, leaving a nice crease line from shoulder to cuff.
- Make sure NOT to leave out the pleats (multiple folded fabric) at the cuff area. You should try to match the sleeve crease nicely.
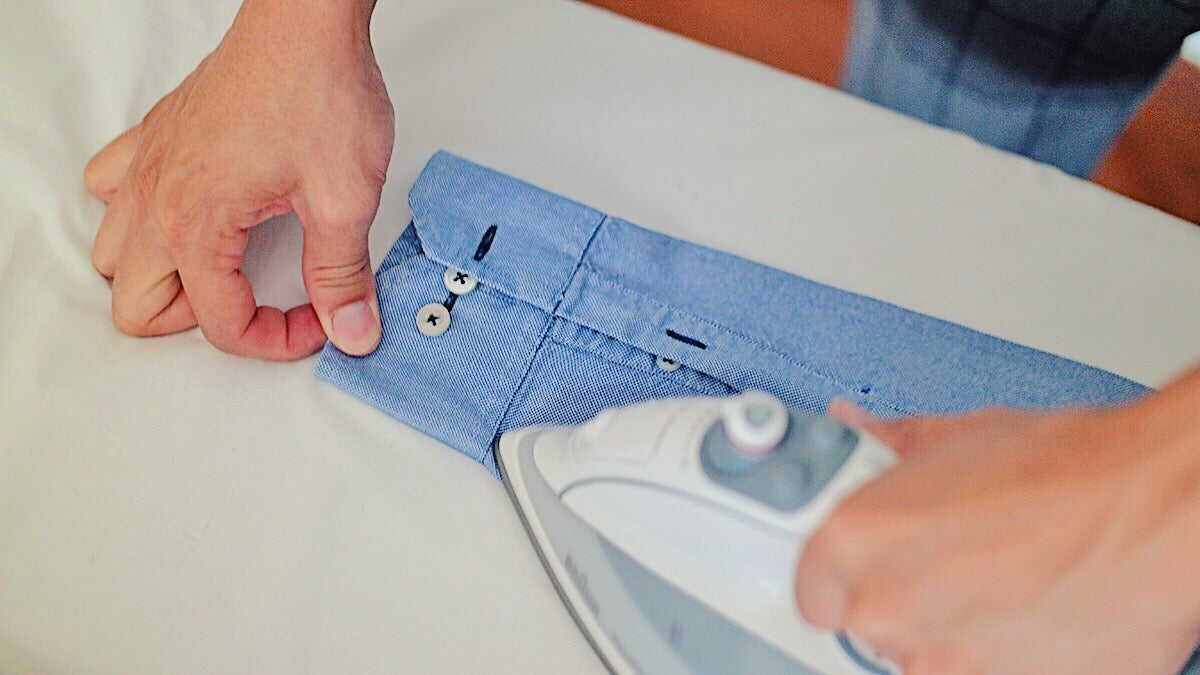
- Slide the tip of the iron through the opening of the cuff, and iron your way around to straighten.

- Lay the center front (button hole) and straighten out on the iron board. Start off the iron from the hem (end of shirt) and work your way upwards towards the shoulder.
- Apply moderate pressure while ironing. If your shirt comes with a placket, do the same and press across the entire placket.
- Do the same for the other side (with buttons). Work your way around every corners of the button, leaving no wrinkles unattended. Be careful not to press directly on the button lest it may break.
- If time permits, you may also iron your shirt upside down with the fabric facing down.

- Now its time to work the entire back of your shirt. Lay the shirt flat on the iron board, with the collar sitting at the pointed edge of the ironing board.
- Shake off the unwanted creases, pull the hem away with slight pressure and make sure the shirt lies flat and steady.
- Press your way around the entire fabric, paying particular attention to the top area which includes your yoke and collar joints.


- Lay the collar band inside out flat on the board. Remember to remove collar stays (if applicable) before any heat contact.
- Press your way from one side to the other and flip the collar to the other side once done. Next, fold the collar and make sure the lines and edges are aligned properly.

- Another method you can try; button up the first button of the shirt, creating a round shape on the collar, press the iron towards the inner collar with one hand and rotate the collar in a circular motion on the other hand.


- Finally, make sure to hang your shirt on the hanger with all the buttons buttoned up (even the first one) while the steam simmers down within the fabric. If you fail to do so, your collar will tend to open outwards throughout the day!
Ultimately, there's no rocket science when it comes to ironing your shirt. Everyone has his/her own preferred way. Follow the guidelines and incorporate or toy around with your own style! And there's absolutely no hard & fast rule to how a shirt must be ironed.
At the end of the day, there's only that much ironing can do as fabrics plays an important part. Do check out our "EASY IRON" fabrics catalog so you can have manageable shirts in your wardrobe, making ironing a breeze. We have a promotion on our Easy Iron Premium fabrics at $109 instead of $129! Click here to find out more!


Leave a comment
This site is protected by hCaptcha and the hCaptcha Privacy Policy and Terms of Service apply.